Custom Guide Index
You can find these sections by using ctrl + F or any other page search function:
- 1.1 Submitting Your Custom Apparel Item
- 1.2 Artwork and File Rules In Detail
- 1.3 Content Rules In Detail
- 1.4 Tag Rules In Detail
1.1 Submitting Your Custom Apparel Item
So you’ve completed creating your Custom Apparel. Congratulations! This guide will walk you through submitting your Custom Apparel to the site.
First, you’ll need a Custom Apparel Token (CAT, for short). You can find CATs at Marvin’s Mole Market under Misc Specialty Section.
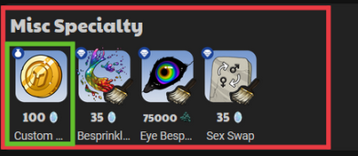
Clicking on the token will bring up the purchasing option. Custom Apparel Tokens cost 100 moonstones (Site Premium Currency). You can buy up to ten Custom Apparel Tokens every reset.
Once you have purchased your CAT, you can use it on the Custom Apparel page, which can be found under the Shops tab.
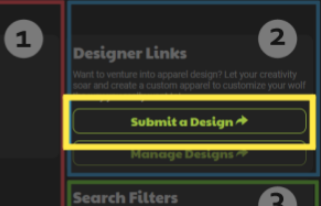
You will see three major sections of the Custom Apparel shop.
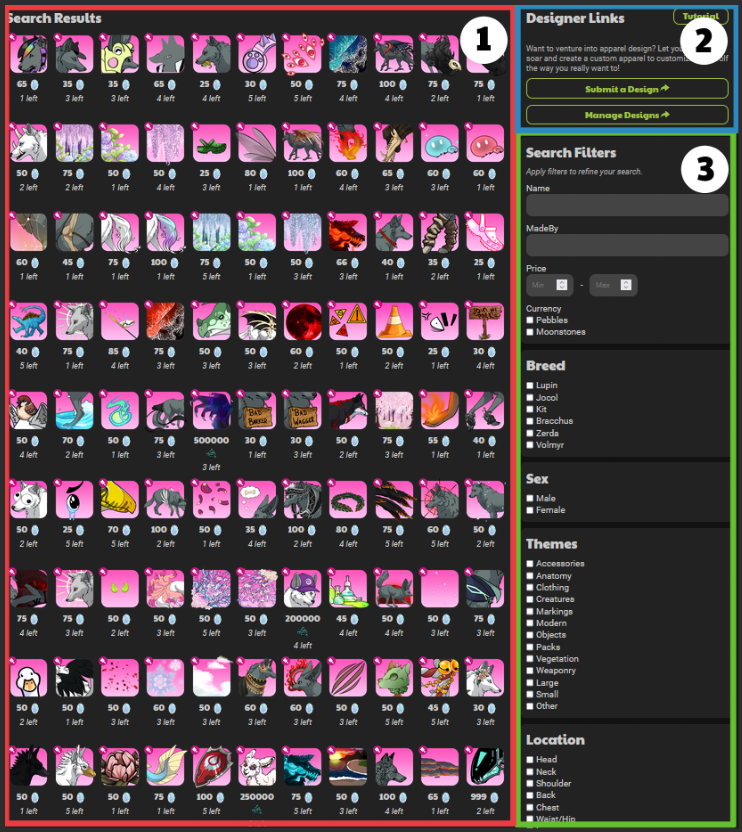
Section 1 contains all current custom apparel available in stock. The results can be narrowed down by using the search filters and tags (Section 3).
To submit your Custom Apparel, we will focus on Section 2. By clicking the Submit a Design button, you will be taken to another page.
Here you will see various sections on the Submission Page. This guide will break each section down in depth.
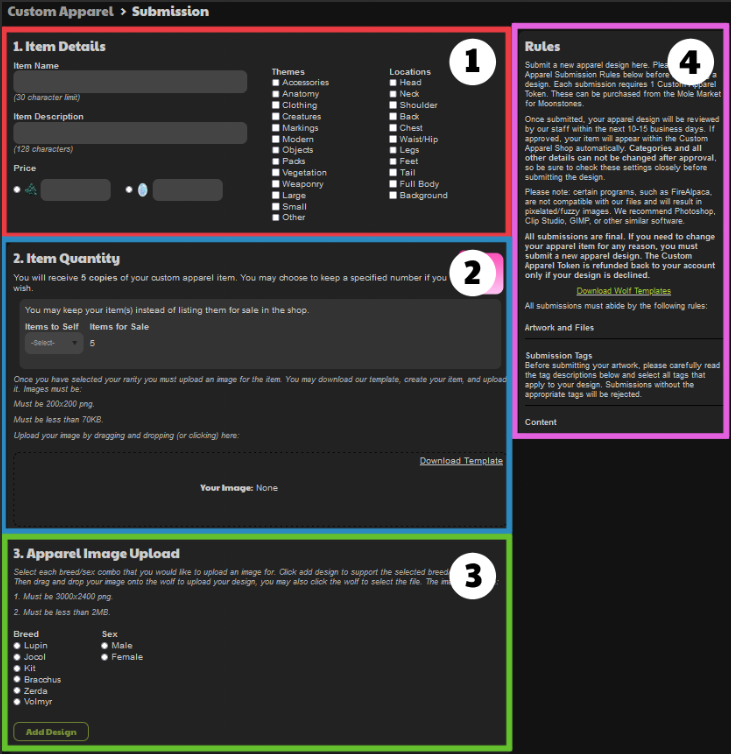
Section 1: Item Details
Here you can name and describe your design! On the right, you can write down your item’s name and description. Underneath, you choose whether your item will be purchasable for moonstones or pebbles. Don't worry. You can edit the pricing later under Managing Designs if you change your mind later.
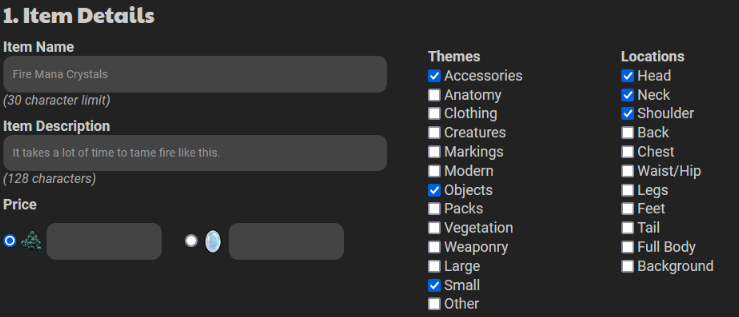
On the left, you can choose what tags your design will have. This will help potential buyers find your item by using the search filter from before.
Section 2: Rules
This brings us to Section 2. The following rules are explained in detail in these sections. You can find them by using ctrl + F or any other page search function:
1.2 Artwork and File Rules In Detail
1.3 Content Rules In Detail
1.4 Tag Rules In Detail
Section 3: Item Quantity & Icon
Once you are done with your design’s descriptions and tags, you will decide on the distribution of your Custom Apparel and upload an Item Icon.
Each token allows you to produce five copies. You can choose whether you keep any copies for yourself, any remaining copies will be sold on the Custom Apparel Shop.

After deciding how many and where your items are being sent to, you can download the Icon .png and .psd files to create your Custom Apparel icon.
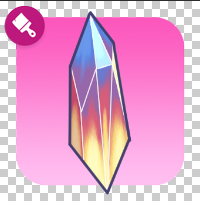
After creating your icon, you can upload a 200x200 .png by clicking the box and choosing your png from the files.

Locate your Icon in your files. Once uploaded you will see your icon in the rectangle.

The covers the Item Quantity and Icon section.
Section 4: Apparel Image Upload
Now, it's time to add your Custom Apparel files. By clicking the Breed and the Sex that your Custom Apparel is for, you can add that pose by pressing the Add Design button.
A Male Lupin has appeared!
But you’re not limited to one Breed or Sex per submission. You can add as many breeds and sexes as your Custom Apparel has been designed for!
Adding all the Breeds and Sexes will look something like this.
Next is adding your Item files to the poses. By clicking on a single Lorwolf, you will be brought to your devices File Manager and can locate where you saved your Custom Apparel. Choose the .png you’ve created for that breed and sex and upload it.
Let’s go and upload them one by one, and… oh! I’ve made a mistake. My crystals are circling the rear of my Male Lupin.
I must’ve selected the wrong file. But no worries, you can easily click on the Lorwolf again and replace the image with the correct file.
There! No more rear-hovering crystals. :)
If you’ve added too many wolves, you can remove them by clicking the X under the Unsaved red button.
Section 5: Save or Submit
To Save or Submit, that is the question. If you feel you’re not ready, still have more Breeds to add or are waiting for pre-orders to fill, you can save your submission as a draft.
To view your draft, return to the Custom Apparel page and click Manage Designs.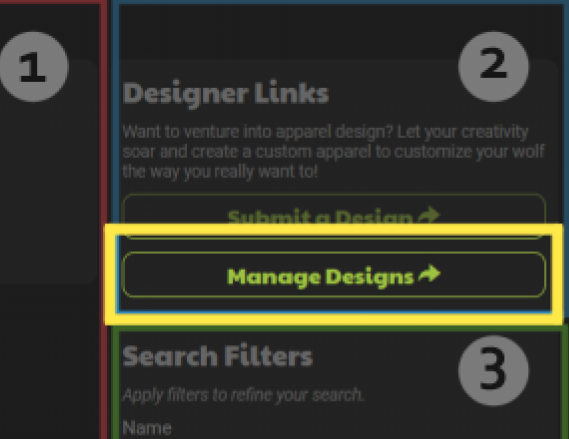
Here you will see your saved designs, which you can view and edit at any time before submission. Be careful; once you submit your design, you cannot change or edit your submission until a staff member reviews it.
Once you are happy with your Custom Apparel submission, click the Submit Design button.
Here the cost of 1 Custom Apparel Token is taken. If your design is rejected, the cost will be refunded and you will receive your Custom Apparel Token back.
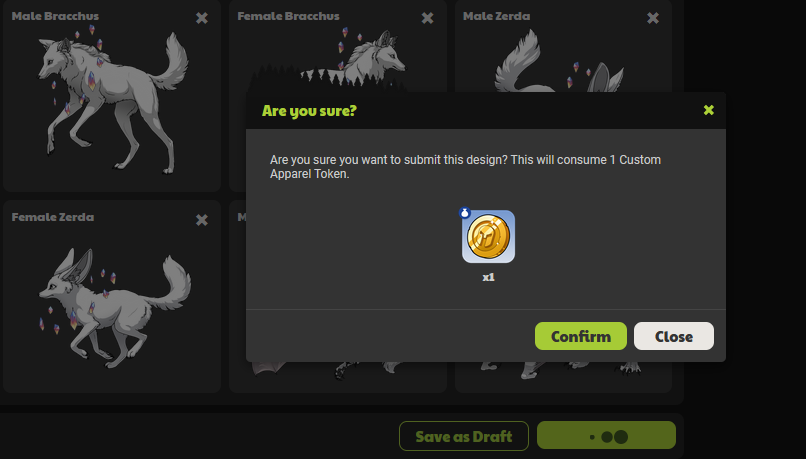
Click the confirm button if you are sure you want to go ahead. This will send off your Custom Apparel to be reviewed by the Custom Apparel Support Team. Depending on the submission queue, this can take up to 10 - 15 business days to be approved. If your item is taking longer than usual, you can request an update on your item on the Custom Apparel Support Thread.
You can check on your submission by going to the Manage Designs page.
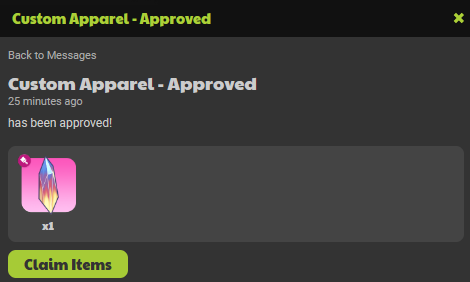
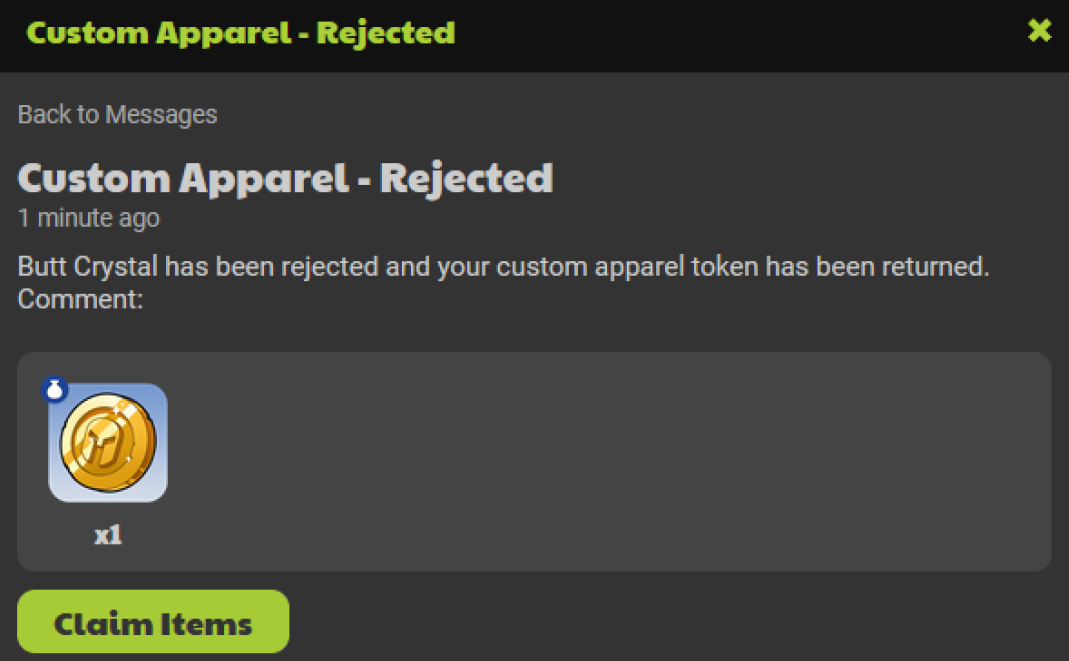
Once your design has been reviewed, you will receive a message about the outcome in your Inbox.
Approved: Your apparel item has passed the checks and is available to claim or is already being sold in the Custom Apparel shop.
Rework: Your design is almost there! There might’ve been a spelling error, a png mistake or a tweak that may be needed to approve it.
Returning to the Manage Designs page, you can view your design and the staff’s comments and then make the edits necessary for your creation to be passed. Once you are done editing, click Submit Design and you’re back in the submission queue. Good luck with being approved!
Rejected: Unfortunately, your design may not have followed the rules and guidelines. The staff member will usually comment on why your design was rejected. Follow the suggestions or re-read the rules so that your future Custom Apparel has a higher chance of your item being approved. Your token will be refunded.
And that wraps up Custom Apparel Submissions.
Happy Creating Lorfolk!


 Quiche


 Sage || LW -7 || 25 y/o || Mom || AuDHD
